Codex Setup (CLI)
Codex is OpenAI's AI coding assistant that can read and write code, fix bugs, and explain code directly on your machine. Just describe what you need in natural language, and it will automatically read and modify your code files.
Prerequisites
- You've obtained a CQT AI APIKey (created in the console under "APIKey Management").
- You've installed Node.js 18+ (run
node -vto confirm; if not installed, download the LTS version from nodejs.org).
Step 1: Install the Codex CLI
npm install -g @openai/codexVerify the installation (seeing a version number means success):
codex --versionStep 2: Create the config file
Codex config file path:
- Windows:
C:\Users\{username}\.codex\config.toml - macOS / Linux:
~/.codex/config.toml
Create the directory:
# Windows (PowerShell)
mkdir "$env:USERPROFILE\.codex"
# macOS / Linux
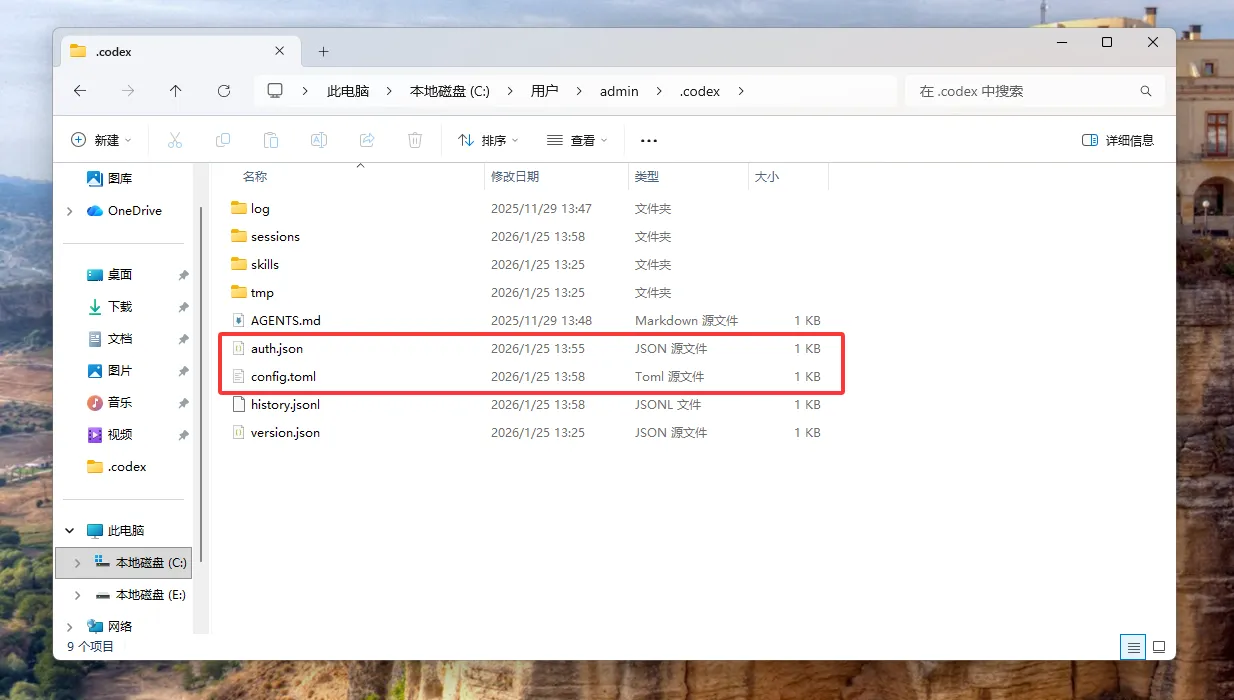
mkdir -p ~/.codexThe .codex folder usually contains files such as auth.json and config.toml:
Step 3: Write the config
Write the following into config.toml. There are two ways to provide the APIKey—pick just one.
Option 1: Write it directly into the config file (recommended for personal use)
Windows users:
model = "gpt-5.3-codex"
model_provider = "cqtai"
approval_policy = "never"
sandbox_mode = "danger-full-access"

[model_providers.cqtai]
name = "cqtai"
base_url = "https://api.cqtai.com/v1"
requires_openai_auth = false
api_key = "your-APIKey"

[windows]
sandbox = "elevated"
macOS / Linux users:
model = "gpt-5.3-codex"
model_provider = "cqtai"
approval_policy = "never"

[model_providers.cqtai]
name = "cqtai"
base_url = "https://api.cqtai.com/v1"
requires_openai_auth = false
api_key = "your-APIKey"
⚠️ With this option the key is stored in plaintext in the file—do not commit
config.tomlto git or share it with others.
Option 2: Read from an environment variable (recommended for teams/shared use)
The config file only references the environment variable name; the key lives separately in a system environment variable, so the config file can be shared safely.
Use env_key in the config file:
[model_providers.cqtai]
name = "cqtai"
base_url = "https://api.cqtai.com/v1"
requires_openai_auth = false
env_key = "CQTAI_API_KEY"
Set the system environment variable:
# Windows (PowerShell, permanent; restart the terminal after setting)
[System.Environment]::SetEnvironmentVariable("CQTAI_API_KEY", "your-APIKey", "User")

# macOS / Linux (bash)
echo 'export CQTAI_API_KEY="your-APIKey"' >> ~/.bashrc && source ~/.bashrc

# macOS (zsh, default)
echo 'export CQTAI_API_KEY="your-APIKey"' >> ~/.zshrc && source ~/.zshrc
Field reference
model: the model name to use; any gpt model works (e.g.gpt-5.3-codex/gpt-4o).model_provider: points to the[model_providers.xxx]name below.base_url: the CQT AI endpointhttps://api.cqtai.com/v1.api_key: for Option 1, the APIKey written directly.env_key: for Option 2, the name of the environment variable holding the APIKey.approval_policy = "never": run all operations automatically. To confirm manually before each file change, set it to"suggest".
Step 4: Verify the connection
Enter any project directory and run; seeing a directory analysis means the setup works:
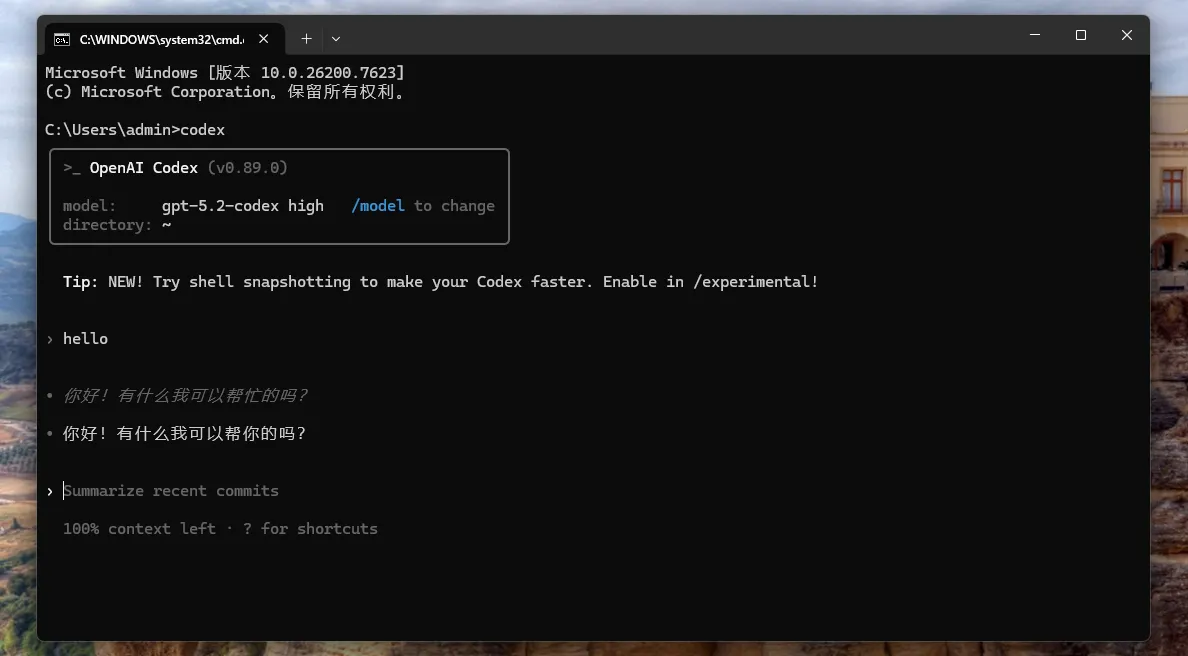
codex "hello, list files in current directory"When you see Codex's startup info (model, directory) and it chats normally, the setup is complete:
Step 5: Start using it
In a project directory, just describe what you need and Codex will read files, understand the context, and act:
codex "check this project for code issues"
codex "add exception handling to main.js"
codex "explain what this function does"
Available models
Codex now supports all gpt-series models (e.g. gpt-5.3-codex, gpt-4o, etc.); just change model in config.toml to the gpt model you want. Available models are as returned by GET /v1/models or as published by the platform.
FAQ
- 401 Unauthorized (authentication failed): Check that
api_keyis correct with no extra spaces, and confirm the APIKey hasn't expired. - 503 model_not_found: Confirm
modelis a gpt model available on the platform, spelled exactly (seeGET /v1/models). - Windows sandbox error (Couldn't set up admin sandbox): Confirm
config.tomlcontainssandbox_mode = "danger-full-access"and[windows] sandbox = "elevated"; or run the terminal as administrator. - macOS npm permission error:
sudo npm install -g @openai/codex.